Building a GIF to WebM Converter With ASP.NET Core on Ubuntu 18.04 VM
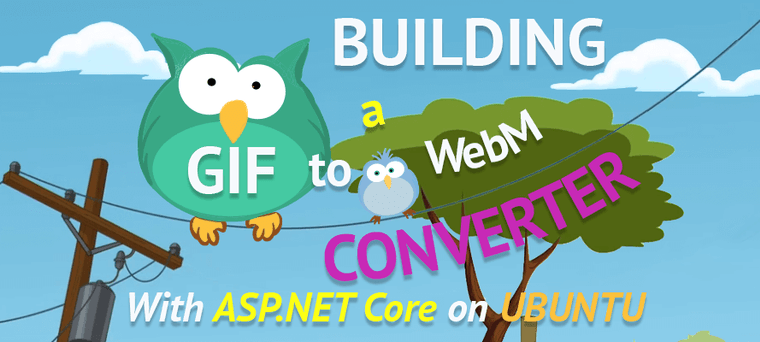
In this article we'll look at how to set up an ASP.NET Core development environment on Ubuntu VM. We'll also learn how to build a GIF to WebM converter - a useful utility for any website owner.
If you mainly work with ASP.NET Core on Windows, I’m sure your development environment is pretty comfy with Visual Studio 2017. In this case, obviously, Windows is a platform of choice for you.
Although keeping in mind ASP.NET Core cross-platform nature, you might ask yourself “What if I try something different? “Will it be possible to develop on Linux?”.
Recently, Microsoft has invested a lot into it’s text editor Visual Studio Code to make it cross-platform IDE for Windows, Linux and Mac. So, maybe, things have changed and you can feel yourself at home regardless of the platform you’re currently using?
When you’re on Windows and you want to start using Linux there’s a couple of things available for you.
3 different options available: BASH, WSL, VM
If you install Git for Windows, you’ll get Git Bash available. But this is Bash running on top of Windows, which is kinda fake. It’s not a full Linux experience.
Another variant would be to download and run Ubuntu from the store, so that you have WSL running on your machine. But again, it’s not the full Linux experience, plus you’ll need to set a bunch of things up for it to work.
So, we’re going to use a third variant, which is a full Linux virtual machine.
Today we’ll look at the main steps you need to take to set up a kick-ass ASP.NET Core dev environment on Ubuntu Linux 18.04 and build a cool project there.
Creating a New Ubuntu VM
We’ll kick things off by creating a new Ubuntu VM.
- In the Hyper-V manager click “Quick Create”
- Select Ubuntu 18.04 LTS
- Click “Create Virtual Machine”
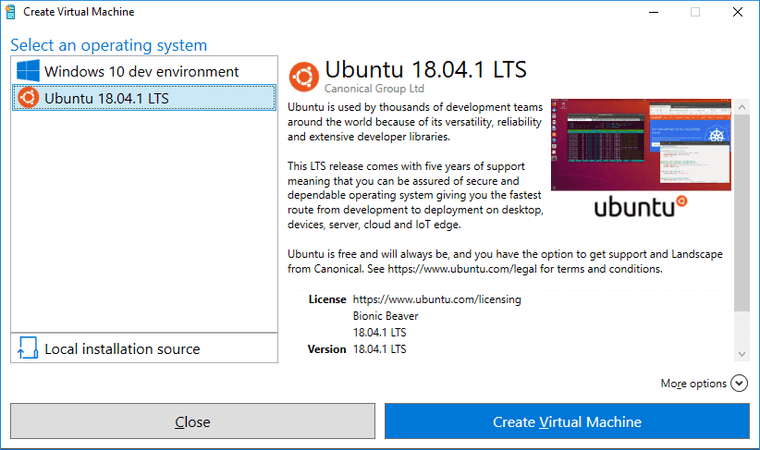
It’ll pull down an image archive from the internet, verify it, extract the image and prepare it for further customization.
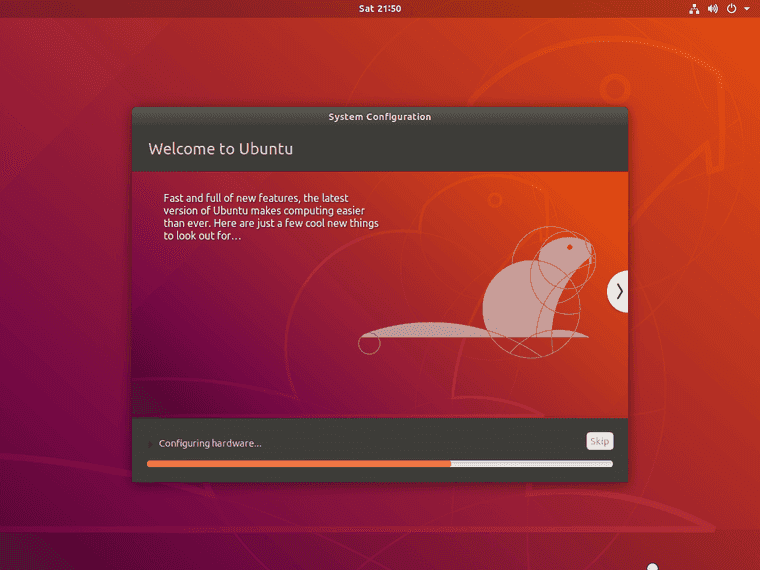
Once it’s ready, click “Connect” and set up basic things like timezone, language and a user account for your new VM.
Warning! When creating a user for the machine, don’t select “Login automatically” because that may cause a bug where you’ll not be able to use full screen mode.
Once you enter this information hit next and let the machine do it’s thing.
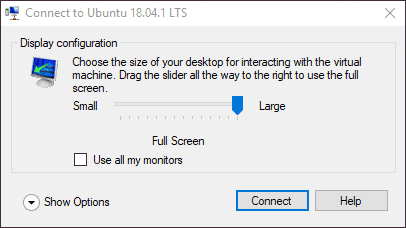
When it’s finished, select Full Screen desktop size and click Connect.
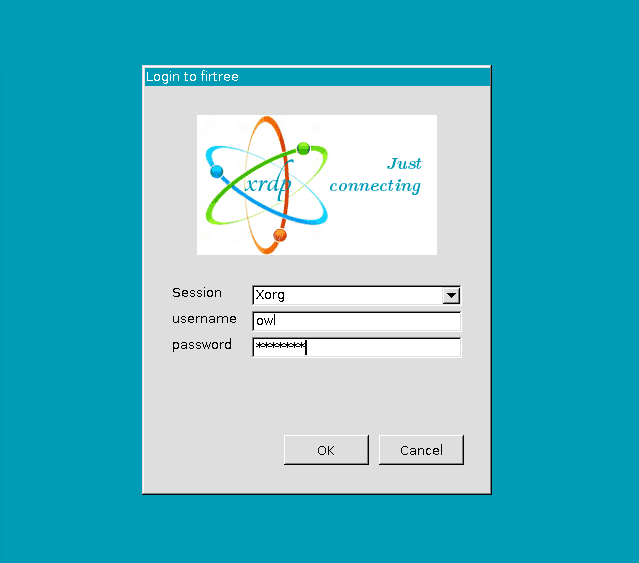
Next, enter your username and password and you’re ready to rock.
After that a good idea would be to install security updates and take a snapshot of the clean system for the situations where something went sideways, but that’s totally up to you.
Now that we have our system ready, we can set up .NET Core environment.
Setting up .Net Core SDK
Awesome, let’s open our terminal by pressing Alt+F2, typing gnome-terminal and hitting Enter.
To install .NET Core SDK you can follow the official installation instructions, or simply paste these commands in your Ubuntu command line.
wget -q https://packages.microsoft.com/config/ubuntu/18.04/packages-microsoft-prod.debsudo dpkg -i packages-microsoft-prod.debsudo apt-get install apt-transport-httpssudo apt-get updatesudo apt-get install dotnet-sdk-2.1 To check that everything went well run this command:
dotnet --infoThis command should output .NET SDK version and some other information about the system.
At the moment of writing this article, I have:
.NET Core SDK (reflecting any global.json):Version: 2.1.503Installing Visual Studio Code
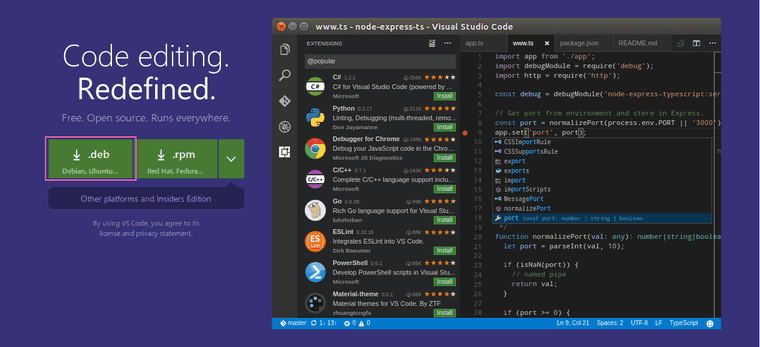
Probably the simplest way to install VSCode is to download and install the .deb package, either through the software center, or through the command line.
Installing the .deb package will automatically install the apt repository and signing key to enable auto-update.
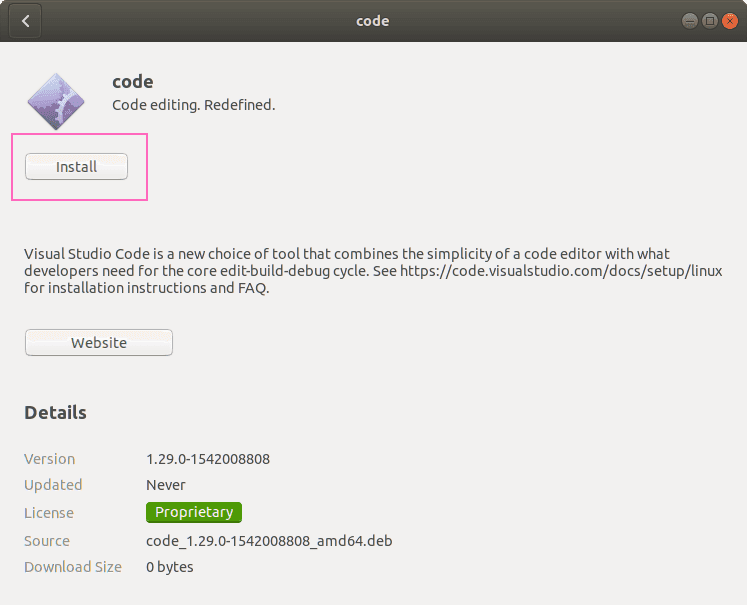
After successful installation you can check the current version of the program by typing in the terminal:
code --versionAt the moment of writing this article, I have this version:
1.30.2If you want to be able to quickly open VSCode, add the shortcut to the system favorites menu via context menu.
VS Code Extensions
Now it’s time to install some useful extensions to make working with VSCode much more productive.
Launch the program and go to the extensions menu.
code . in the terminal.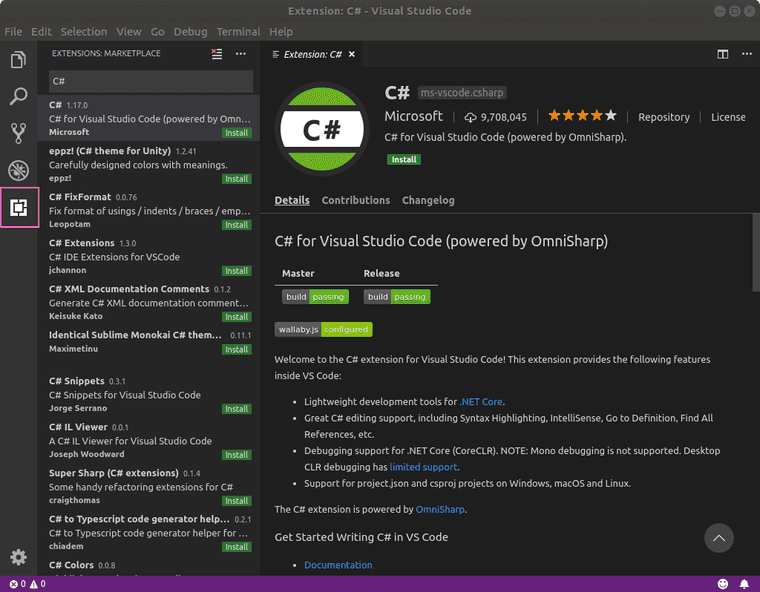
Here’s a couple of extensions that you may want to install:
Creating the GIF to WebM Converter Project
Now we are ready to create a simple project. In one of my previous articles we were building a cat app, which was a relly fun project. This one is going to be rather useful and will help us save megabytes of traffic on the web. We’re going to build a GIF to WebM converter.
As you probably know, the GIF format is a great and handy way to quickly capture a simple animation and share it on the web. But animated GIFs are quite heavy in size. Unless you have some sort of ultra-sonic-optic-fiber internet channel, chances are that you will have to wait for things to load.
That’s where WebM comes into view. This relatively unknown open-source video/audio format allows to increase video compression up to 9 times compared to GIF. It also has a lot smoother playback. Excited? Let’s get things rolling.
For this project we’ll need ffmpeg, which we can install it by typing:
sudo apt install ffmpegCreate a new Projects folder in your home directory and cd into it.
cd ~ && mkdir Projects && cd ProjectsNow, create a new project called GifToWebMConverter.
dotnet new razor -o GifToWebMConverterThis will scaffold a standard .NET Core project using Razor template. Now we need to open it in VS Code by pressing Ctrl+K Crtl+O and selecting our project’s folder.
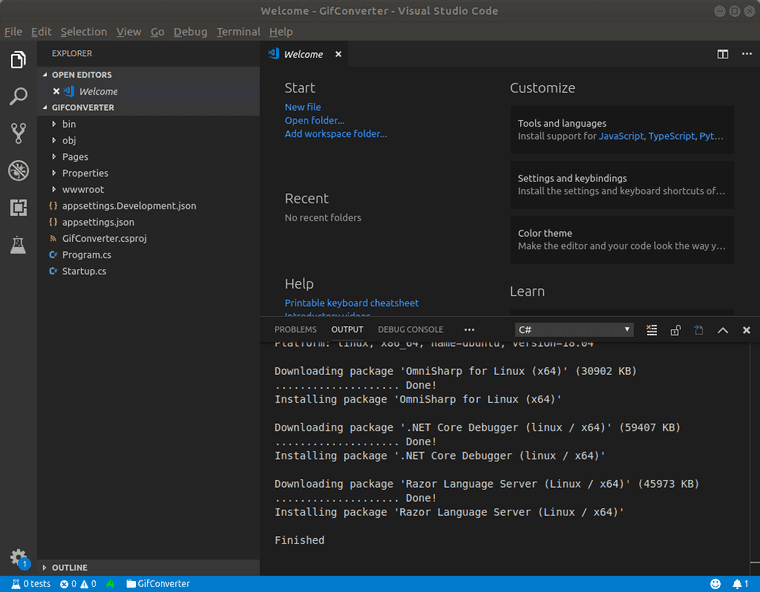
After opening a project you’ll need to wait a bit, until VS Code installs all dependencies.
Once everything is installed, switch to debug view in VSCode, press Start debugging button and from the appeared list select .NET Core build configuration. This should start the project and open a web browser.
You will see in the console that the application is started and listening on port 5000 and 5001 (HTTPS).
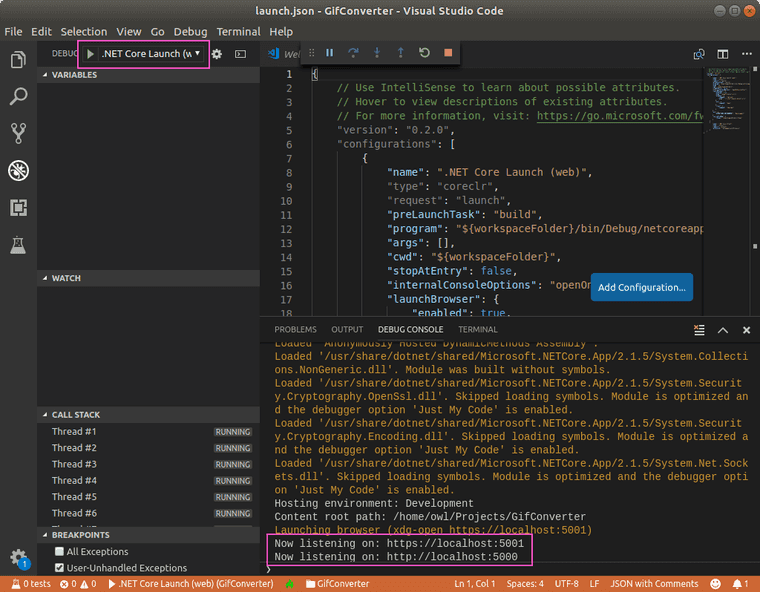
Warning! If after launch you’ll see some certificate errors in console, you may need to issue a command
dotnet dev-certs https --trust, restart VS Code, launch the project again. This will trust the development certificate that was created automatically after first launch.
Another warning! Since the default browser on Ubuntu is Firefox, you may also need to add the development certificate as to the browser exception list.
Building the Converter
Ok, now that we have our project working, let’s start building the actual converter. For this we will modify our Index.cshtml and Index.cshtml.cs files that are located in the Pages folder.
Open Index.cshtml and remove everything except from the top page @page and @model declarations. Paste the following HTML code:
<h1>Awesome GIF to Webm Converter!</h1><form id="uploadForm" action="" method="post" enctype="multipart/form-data" onsubmit="submitBtn.disabled = true;"> <div class="file-input"> <input type="file" name="gifFile" value="" placeholder="Select the GIF file" /> <span class='button'>Choose</span> <span class='label' data-js-label>No file selected</span> </div> <input type="submit" name="submitBtn" class="btn btn-info" value="Convert" /></form>Here we have a little form that will allow us to select files for conversion.
Now, open Index.cshtml.cs file and replace it’s contents with the following code:
using System;using System.Collections.Generic;using System.Diagnostics;using System.IO;using System.Linq;using System.Threading.Tasks;using Microsoft.AspNetCore.Http;using Microsoft.AspNetCore.Mvc;using Microsoft.AspNetCore.Mvc.RazorPages;
namespace GifToWebMConverter.Pages{    public class IndexModel : PageModel    {        const string inputFileName = "input.gif";        const string outputFileName = "output.webm";        const string ffmpegPath = @"/usr/bin/ffmpeg";
        public ActionResult OnPost(string format, IFormFile gifFile)        {            var tempPath = _CreateTempAndClear();            var inputFilePath = _SaveFile(gifFile, tempPath);            var outputFilePath = Path.Combine(tempPath, outputFileName);
            using (var process = Process.Start(ffmpegPath, string.Format("-i \"{0}\" -b:v 0 -crf 25 \"{1}\"", inputFilePath, outputFilePath)))            {                process.WaitForExit();                if (process.ExitCode == 0)                {                    var stream = System.IO.File.OpenRead(outputFilePath);                    return File(stream, "application/octet-stream", outputFileName);                }            }            return Content("Unable to convert your file");        }
        string _SaveFile(IFormFile gifFile, string tempPath)        {            var inputFilePath = Path.Combine(tempPath, inputFileName); // Unique filename            using (var fileStream = gifFile.OpenReadStream())            using (var stream = new FileStream(inputFilePath, FileMode.CreateNew))            {                fileStream.CopyTo(stream);            }            return inputFilePath;        }
        string _CreateTempAndClear()        {            var tempPath = Path.Combine(Path.GetTempPath(), "GifConverter");            try            {                if (!Directory.Exists(tempPath))                    Directory.CreateDirectory(tempPath);                foreach (var file in Directory.GetFiles(tempPath))                    System.IO.File.Delete(file);            }            catch (Exception ex)            {                Console.WriteLine("An error occurred: '{0}'", ex);            }            return tempPath;        }    }}
Alright, let’s talk about what’s happening here. The general idea here is to use the Process class to run ffmpeg with certain parameters. To access this class we’ve added a System.Diagnostics namespace at the top.
Going down below, we’re defining some variables for the input and output file names and the ffmpeg location.
Since this is a Razor page, OnPost method runs when we select our file for conversion and submit a form.
_CreateTempAndClear() method, well, creates temporary folder, clears it and returns a temp path, which is then used by the _SaveFile method to save uploaded file.
After that, we start the ffmpeg conversion process with predefined parameters and wait until it’s finished.
That’s it, if you run the project again, you can already use it to convert GIFs. It should look something like that:
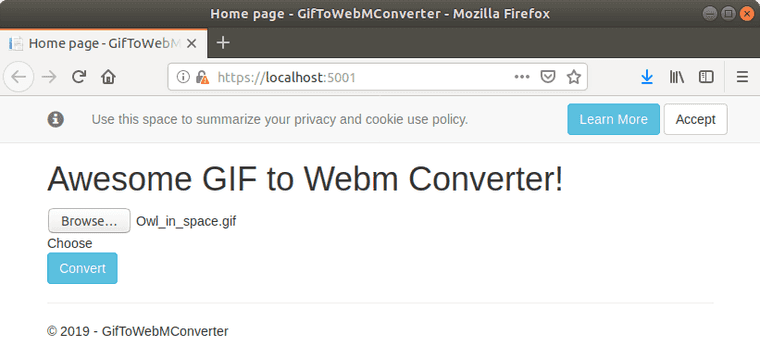
However, it looks a bit too conservative to my eye. How about we add a bit of fun to it, a spark of joy, so to say?
Making it Spark Joy
Ok, open Index.cshtml file again and directly above our form create a style tag and paste the following styles there:
form { background: #f6f6f6; padding: 10px; display: inline-block;}.file-input { display: inline-block; text-align: left; background: #fff; padding: 16px; width: 450px; position: relative; border-radius: 3px; font-size: 18px;}.file-input > [type='file'] { position: absolute; top: 0; left: 0; width: 100%; height: 100%; opacity: 0; z-index: 10; cursor: pointer;}.file-input > .button { display: inline-block; cursor: pointer; background: #eee; padding: 8px 16px; border-radius: 2px; margin-right: 8px;}.file-input:hover > .button { background: dodgerblue; color: white;}.file-input > .label { color: #333; white-space: nowrap; opacity: .3;}.file-input.-chosen > .label { opacity: 1;}input[type="submit"] { outline: none; height: 42px; text-align: center; width: 130px; border-radius: 40px; background: #1ECD97; border: 2px solid #1ECD97; color: #fff; letter-spacing: 1px; text-shadow: 0; font-size: 17px; font-weight: bold; cursor: pointer; margin: 10px;}input[type="submit"]:hover { color: #1ECD97; background: #fff; border-color: #1ECD97;}input[type="submit"]:focus { outline: none;}input[type="submit"]:disabled { background: #eee; color: #000; font-weight: 300; border: 2px solid #dedede;}Looks much better now, right?
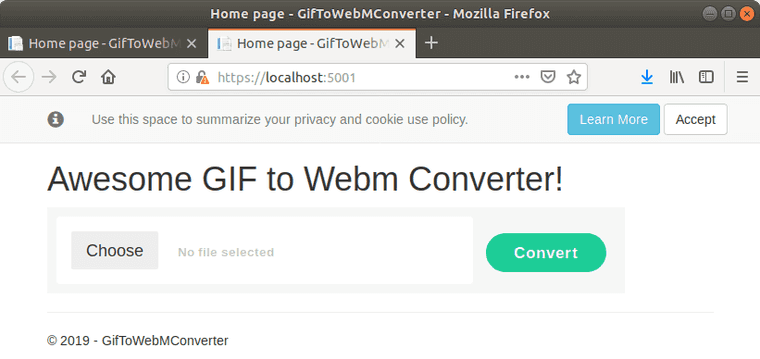
Now, to support our styling functional we need to make two more modifications.
First, in our form add disabled attribute to the submit button so it looks like this:
<input type="submit" name="submitBtn" class="btn btn-info" value="Convert" disabled />Second, below the HTML block open a script tag and paste the following JavaScript code there:
const fileInput = document.querySelector("[type='file']");const submit = document.querySelector("[type='submit']");const label = document.querySelector("[data-js-label]");
fileInput.onchange = function () {    console.log("changed");    if (!fileInput.value) return;
    const value = fileInput.value.replace(/^.*[\\\/]/, '');    label.innerText = value;    submit.disabled = false;}fileInput.addEventListener('click', function () {    this.value = '';});
This bit of JavaScript is doing some slight manipulations with our form elements like disabling the button to prevent accidental repeating submission and showing the name of the selected file, but we’ll not focus on this.
Finally, our handy little project looks great and ready to chew-up some GIFs and spit out some WebMs. Of course, you should keep in mind that this is in no way a production-ready code, it’s far from the ideal. But it gives you the basic idea of how to work with ASP.NET Core on Ubuntu Linux.
Final Words
So, as you can see, it’s absolutely possible to develop ASP.NET Core projects on Ubuntu and have a great experience.
You can learn more about WebM and it’s benefits in these articles:
Stay tuned, and while I’ll go grab some tomato juice, subscribe to my newsletter for more interesting web development articles.


